

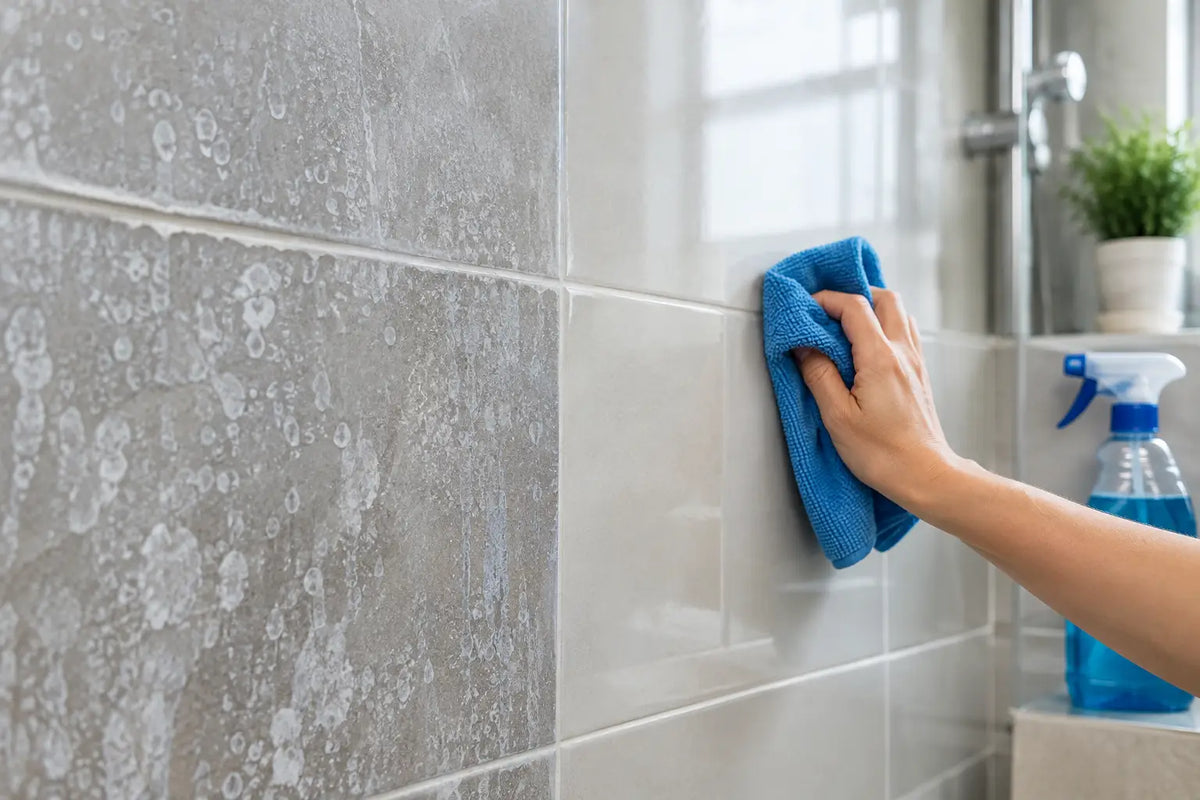
Those chalky white marks around a shower valve, along the tub surround, or at the bottom of a backsplash are not ordinary dirt. They are mineral deposits left behind after water evaporates. To remove hard water stains from tile effectively, you need to dissolve or lift the minerals without scratching the tile, weakening the grout, or leaving a residue that attracts the next round of buildup.
The right method depends on the tile itself. Glazed ceramic and porcelain can typically handle more cleaning options than natural stone, unglazed tile, or specialty finishes. Start with the least aggressive approach that can do the job, then protect the clean surface so it does not become another weekly scrubbing project.
Why Hard Water Stains Stick to Tile
Hard water contains dissolved minerals, most often calcium and magnesium. When droplets sit on tile and evaporate, those minerals remain. Over time, repeated deposits form a crusty film that can look white, gray, cloudy, or slightly yellow.
In a shower, mineral buildup often mixes with soap scum, body oils, and cleaning-product residue. That combination is why a standard all-purpose cleaner may make the tile look better for a day without actually removing the stain. The surface needs a cleaner formulated to address mineral deposits, followed by a thorough rinse.
Tile itself may be smooth, but grout is porous. Textured tile, unglazed tile, and worn grout give minerals more places to settle. That is also why stains tend to return first at grout lines, lower wall sections, and areas where water pools.
Before You Remove Hard Water Stains From Tile
Identify the surface before choosing a cleaner. Most glazed ceramic and porcelain tile are durable and relatively nonporous. Natural stone - including marble, travertine, limestone, and some slate - is different. Acidic cleaners, including vinegar and many DIY descaling solutions, can etch stone and leave it dull or permanently marked.
If you are unsure what your tile is made of, treat it as a sensitive surface until you confirm otherwise. Check installation records, ask the builder or tile supplier, or test any cleaning product in a hidden area first.
Avoid abrasive powders, steel wool, razor blades, and aggressive scrubbing pads. They can scratch glazed finishes and create tiny surface defects where water residue and soap scum cling more readily. A non-scratch nylon pad, microfiber cloth, soft detailing brush, and a cleaner appropriate for the tile are usually all you need.
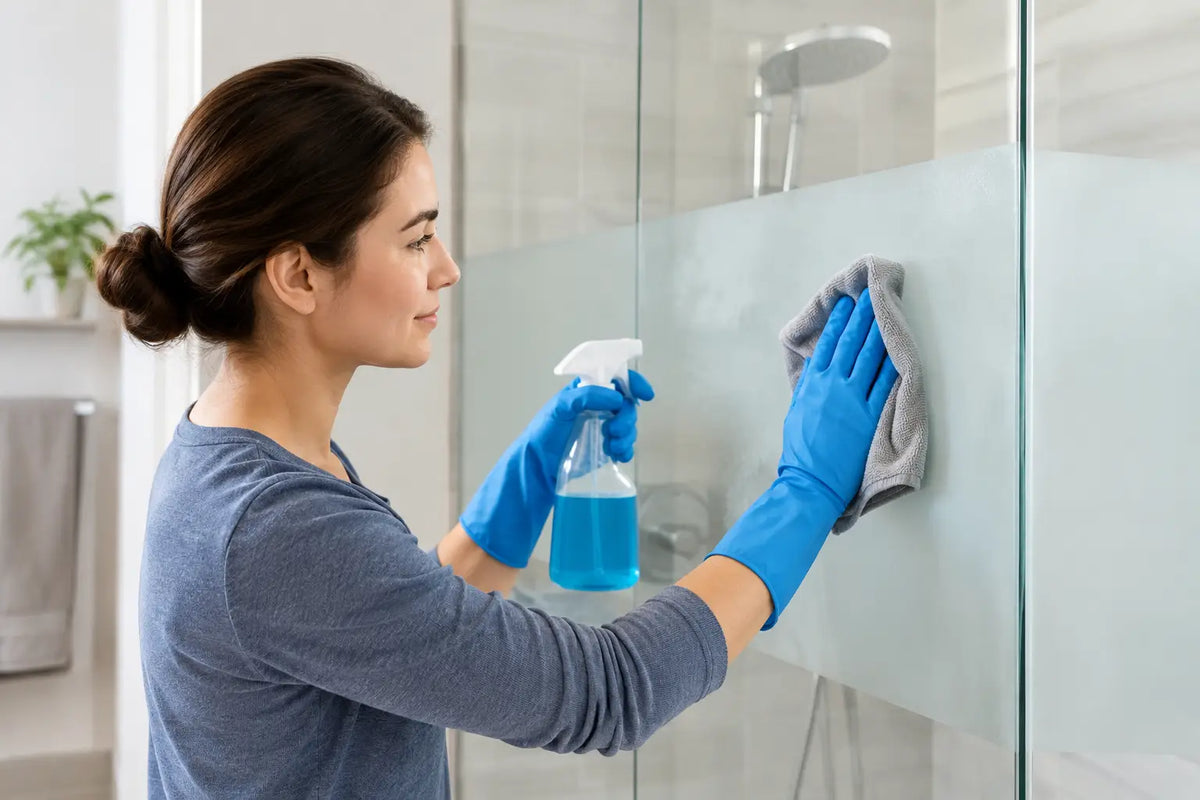
Ventilate the room, wear gloves when using a dedicated mineral-deposit remover, and never combine cleaners. Mixing products can create fumes or reduce performance. In particular, do not apply one chemical over another unless the label specifically directs you to do so.
A Practical Method for Removing Mineral Buildup
Begin by rinsing the tile with warm water. This removes loose soil and helps the cleaner contact the mineral film more evenly. If the surface has a heavy layer of soap scum, clean that first. Mineral remover works best when it is not trying to cut through oils, shampoo residue, and limescale at the same time.
Apply a hard-water stain remover designed for the specific surface. For glazed tile, a purpose-built hard-water remover is generally more predictable than household shortcuts because it is formulated to target mineral deposits while minimizing unnecessary abrasion. Follow the label instructions for dwell time. More time is not always better, especially near grout, caulk, metal trim, or natural stone.
Once the product has had time to work, gently agitate the stained area with a non-scratch pad or soft brush. Work in small sections rather than coating an entire shower wall and allowing the cleaner to dry. You should see the residue begin to loosen instead of needing to force it off with hard pressure.
Rinse thoroughly with clean water, then dry the area with a microfiber towel. This last step matters. Leftover cleaner and dissolved minerals can dry into new streaks, making it difficult to tell whether the stain is gone.
For thick, long-standing deposits, repeat the process rather than escalating immediately to a harsh abrasive. Several controlled applications are safer than one aggressive attempt that damages the finish. If the tile remains cloudy after mineral buildup is removed, the issue may be etching, surface wear, or a damaged glaze rather than a remaining stain.
What About Vinegar?
Vinegar can dissolve light mineral residue on some glazed ceramic or porcelain surfaces, but it is not a universal tile cleaner. It should not be used on natural stone, and frequent use around grout can be a poor long-term maintenance strategy. Its odor, inconsistent strength, and limited ability to handle combined soap scum and heavy limescale also make it less practical for a shower that has been neglected for months.
For a faint spot on confirmed glazed tile, vinegar may be an acceptable occasional option when diluted and rinsed promptly. For recurring buildup, a surface-appropriate, non-abrasive mineral remover provides more controlled results.
Do Not Forget the Grout and Caulk
Clean tile can make stained grout look even more obvious. Use a soft grout brush and a cleaner safe for grout, working along the lines without flooding them. Grout absorbs moisture more easily than glazed tile, so rinse carefully and dry the area after cleaning.
Caulk deserves similar care. Mineral deposits can collect along caulk edges, but aggressive chemicals may discolor or weaken older caulk. If stains remain embedded in cracked, moldy, or deteriorated caulk, cleaning may not restore its original appearance. Replacement may be the better repair.
Keep Hard Water Stains From Returning
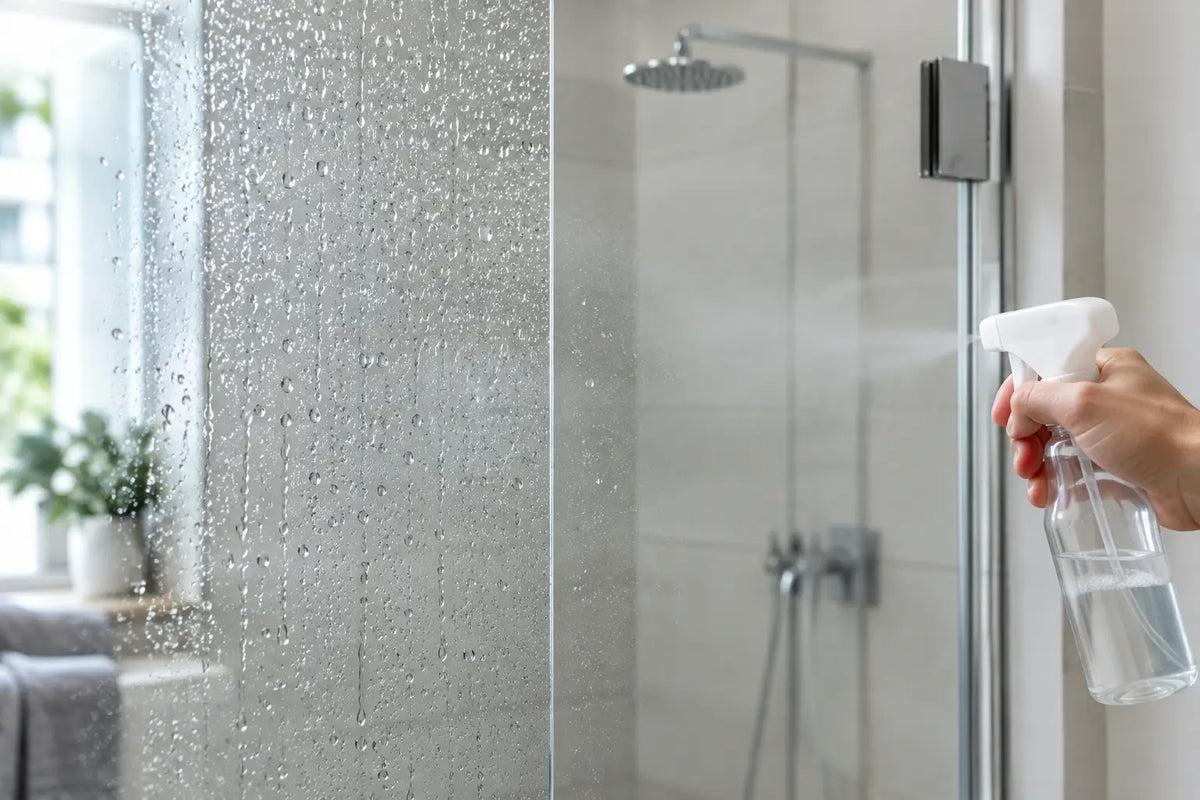
The fastest way to reduce hard-water buildup is to remove standing water before it dries. A quick squeegee pass after showering can make a visible difference on wall tile and glass, especially in homes with very hard water. Follow with a microfiber towel in corners, around fixtures, and along horizontal ledges where droplets collect.
That routine helps, but it does not change the surface itself. For compatible silica-based surfaces, a professionally formulated protective coating can chemically bond with the surface to create an ultra-thin hydrophobic barrier. Water beads and sheets away more effectively, leaving fewer minerals behind and reducing the effort required during routine cleaning.
Protection is not a substitute for cleaning. It works best after the tile has been fully restored, rinsed, and dried. Applying a coating over mineral deposits can lock in the cloudy appearance rather than solve it. Surface compatibility also matters: glazed tile, glass, grout, and natural stone may require different products or preparation methods.
ShopDFI approaches surface care as a system: remove existing contamination first, then use a compatible protective treatment and a simple maintenance routine to limit repeat buildup. The result is not a promise that water disappears from the bathroom. It is a surface that is easier to maintain, requires less aggressive scrubbing, and stays cleaner-looking longer.
When a Stain Is Not Actually a Stain
If you have cleaned the surface thoroughly and it still looks dull, hazy, or rough, examine it in bright side lighting. Permanent etching from acidic cleaners, abrasion from harsh pads, or wear in an older glaze can resemble hard-water staining. Natural stone may also develop changes in finish that no mineral remover can reverse.
In those cases, continuing to scrub can make the appearance worse. A tile restoration professional can help determine whether the surface needs polishing, refinishing, grout repair, or replacement. Knowing when to stop cleaning is part of protecting the value of the installation.
A clean tile surface should not require a weekend of work every month. Remove the mineral deposits carefully, dry the areas where water collects, and choose protection that fits the surface. That combination turns hard-water maintenance from a recurring battle into a short, manageable routine.

Leave a comment
This site is protected by hCaptcha and the hCaptcha Privacy Policy and Terms of Service apply.