


Bathroom mirrors are one of the most-used—and most abused—glass surfaces in your home. Between humidity, toothpaste splatter, hard water, and daily cleaning, they quickly lose their clarity and shine.
The good news? Applying a high-quality glass coating can dramatically reduce maintenance, protect your mirror, and keep it looking crystal clear for years.
In this guide, we’ll walk you through expert tips and tricks to properly apply a glass coating to your bathroom mirrors for the best results.
Why Apply a Glass Coating to Bathroom Mirrors?
Before diving into the how-to, let’s talk about the “why.”
A professional-grade glass coating creates an invisible, hydrophobic barrier that:
- Repels water, soap residue, and grime
- Reduces fogging and streaking
- Prevents mineral buildup from hard water
- Makes cleaning faster and easier
- Helps preserve mirror clarity over time
For busy households—or anyone tired of constantly wiping down mirrors—this is a game-changer.

Step 1: Start with a Deep Clean (This Is Critical)
The biggest mistake people make? Applying a coating to a dirty or contaminated surface.
Even if your mirror looks clean, invisible residue (such as oils or hard-water minerals) can prevent the coating from bonding properly.
Pro Tip:
Use a non-abrasive glass restoration product to remove buildup before applying your coating.
Focus on:
- Toothpaste splatter
- Hair spray residue
- Hard water spots
- Soap film
Wipe the surface thoroughly until it feels completely smooth and squeaky clean.
Step 2: Dry the Surface Completely
Moisture is the enemy of proper adhesion.
After cleaning:
- Use a lint-free microfiber towel
- Make sure there are no streaks or damp areas
- Pay special attention to edges and corners
Even small amounts of water can interfere with the coating’s performance.
Step 3: Apply the Glass Coating Evenly
Now comes the main event.
Apply your glass coating using:
- A clean applicator pad or cloth
- Smooth, overlapping motions
Best Technique:
Work in small sections (about 2 ft x 2 ft), applying the coating in a crosshatch pattern:
- Horizontal strokes
- Then vertical strokes
This ensures full, even coverage.
Step 4: Let It Bond (But Don’t Overwait)
Most coatings require a short bonding window before buffing.
- Follow product-specific timing (usually a few minutes)
- Don’t let it sit too long, or it may become harder to remove
You’ll typically see a slight haze form—that’s your cue.
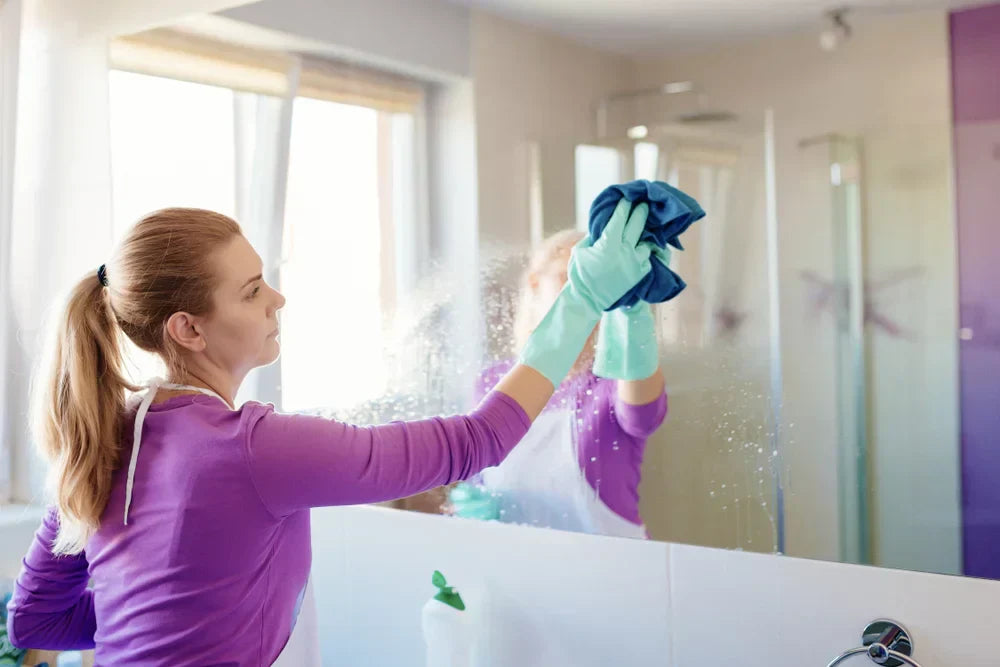
Step 5: Buff to a Crystal-Clear Finish
Using a clean microfiber towel:
- Buff the surface gently
- Remove any haze or residue
- Reveal a streak-free, glossy finish
Pro Tip:
Use a second dry towel for a final polish to ensure zero streaks.
Common Mistakes to Avoid
Even a great product won’t perform well if applied incorrectly. Here are the most common pitfalls:
- Skipping surface prep
- Leads to poor bonding and reduced performance
- Applying too much product
- More is NOT better—this can cause streaking
- Working in direct sunlight
- Can cause premature drying and uneven results
- Using paper towels
They can leave lint and micro-scratches
Maintenance Tips After Application
Once your coating is applied, maintenance becomes incredibly simple.
Do:
- Use a gentle glass cleaner or water
- Wipe with microfiber cloths
- Clean regularly to maintain performance
Avoid:
- Harsh abrasives
- Ammonia-heavy cleaners (over time)
- Scrubbing pads
With proper care, your mirror will stay cleaner longer and require far less effort.
How Long Does a Glass Coating Last?
It depends on the product and usage, but most high-quality coatings can last:
- Several months to years on bathroom mirrors
- Longer with proper maintenance
Reapplication is simple. Reapply as needed to maintain peak performance.
Is It Worth It? Absolutely.
If you’re tired of:
- Constant streaks
- Water spots
- Daily mirror cleaning
Then, applying a glass coating is one of the easiest upgrades you can make!
It not only improves the appearance of your bathroom but also saves time and effort in your daily routine.
Final Thoughts
Applying a glass coating to your bathroom mirrors isn’t complicated—but doing it right makes all the difference.
With proper prep, application, and maintenance, you’ll enjoy:
- Crystal-clear reflections
- Reduced cleaning time
- Long-lasting protection
Whether you’re a homeowner or a professional, mastering these simple techniques ensures you get the most out of your glass coating.
A Quick Way to Get Started?
Try our Mirror Cleaner & Protectant formula, designed to clean, protect, and maintain glass surfaces with ease.
- Removes residue and buildup
- Enhances clarity and shine
- Helps extend the life of your glass coating
Leave a comment
This site is protected by hCaptcha and the hCaptcha Privacy Policy and Terms of Service apply.