

A shower door can look spotless after a deep clean, then show water spots again after one or two uses. That cycle is usually not a cleaning failure. It is a surface-protection problem. Learning how to apply glass protective coating correctly helps address the microscopic porosity of glass, where minerals, soap residue, and grime can gain a foothold.
A quality coating does more than make water bead for a few days. It chemically bonds with the glass to create an ultra-thin hydrophobic barrier. Water, oils, and residue are less likely to cling to the surface, so routine cleaning takes less effort and the glass keeps its clarity longer.
Before You Apply Glass Protective Coating
The coating can only bond as well as the surface is prepared. Glass may feel smooth, but it contains microscopic peaks and valleys that collect mineral deposits, soap scum, body oils, and leftover cleaning products. Applying a protective coating over that contamination can trap it in place or prevent an even bond.
Start by identifying what is on the glass. Fresh water spots and light soap film may come off with a compatible glass cleaner. White, chalky mineral buildup often requires a purpose-made hard-water stain remover. If the glass has visible etching from prolonged mineral exposure, cleaning can improve the appearance, but it may not fully restore damaged glass. A coating protects clean glass from future buildup; it does not fill deep scratches or reverse etching.
Avoid household shortcuts such as abrasive powders, steel wool, or harsh acids unless the coating manufacturer specifically approves them. These methods can scratch glass, damage nearby metal finishes, or leave residues that interfere with coating performance. The goal is not simply to make the surface look clean. It is to leave bare, residue-free glass ready to accept treatment.
For a shower door, also inspect the edges, corners, and bottom track. Those areas often hold soap and mineral residue that can transfer back onto the glass during application. On a windshield, remove road film, bug residue, wax overspray, and silicone-based dressing residue before beginning.
What You Need for a Clean, Even Application
Use the supplies specified by your coating system whenever possible. Different coatings may have different dwell times, activation steps, and cure requirements. In most cases, you will need a dedicated glass cleaner or prep product, a hard-water stain remover if mineral deposits are present, clean lint-free towels, nitrile gloves, and the protective coating with its supplied applicator.
Choose a controlled work area. Glass should be cool, dry, and out of direct sunlight. High heat can cause the product to flash too quickly, leaving uneven coverage. Humidity and temperature also affect cure time, particularly in bathrooms. If you are treating a shower enclosure, give yourself enough time for the glass to dry completely before anyone uses the shower.
It is also wise to protect adjacent materials. Some coatings are designed for glass and other silica-based surfaces, while others should not be allowed to dry on painted trim, unsealed stone, plastic, or certain metal finishes. Read the label before treating tile, mirrors, windshields, or coated glass with special films.
How to Apply Glass Protective Coating Step by Step
1. Deep-clean the glass first
Wash the entire surface, paying close attention to the area where water lands most often. Remove visible deposits, then rinse or wipe away all cleaner residue according to the product directions. A surface can look clear yet still carry an invisible film from soaps, polish, or all-purpose cleaners.
Dry the glass thoroughly with a clean lint-free towel. Do not reuse a towel that was used to remove hard-water stains or wipe shower tracks. It may reintroduce minerals or oils to the surface.
2. Confirm the surface is ready
Look at the glass from several angles in bright, indirect light. Streaks, hazy patches, and rough spots can signal remaining buildup. If water sheets unevenly because of residue, repeat the cleaning step rather than applying the coating immediately.
This extra preparation is where long-lasting results are won or lost. A protective coating is not a cover-up. It needs direct contact with clean glass to chemically bond and form a consistent barrier.
3. Apply a thin, controlled layer
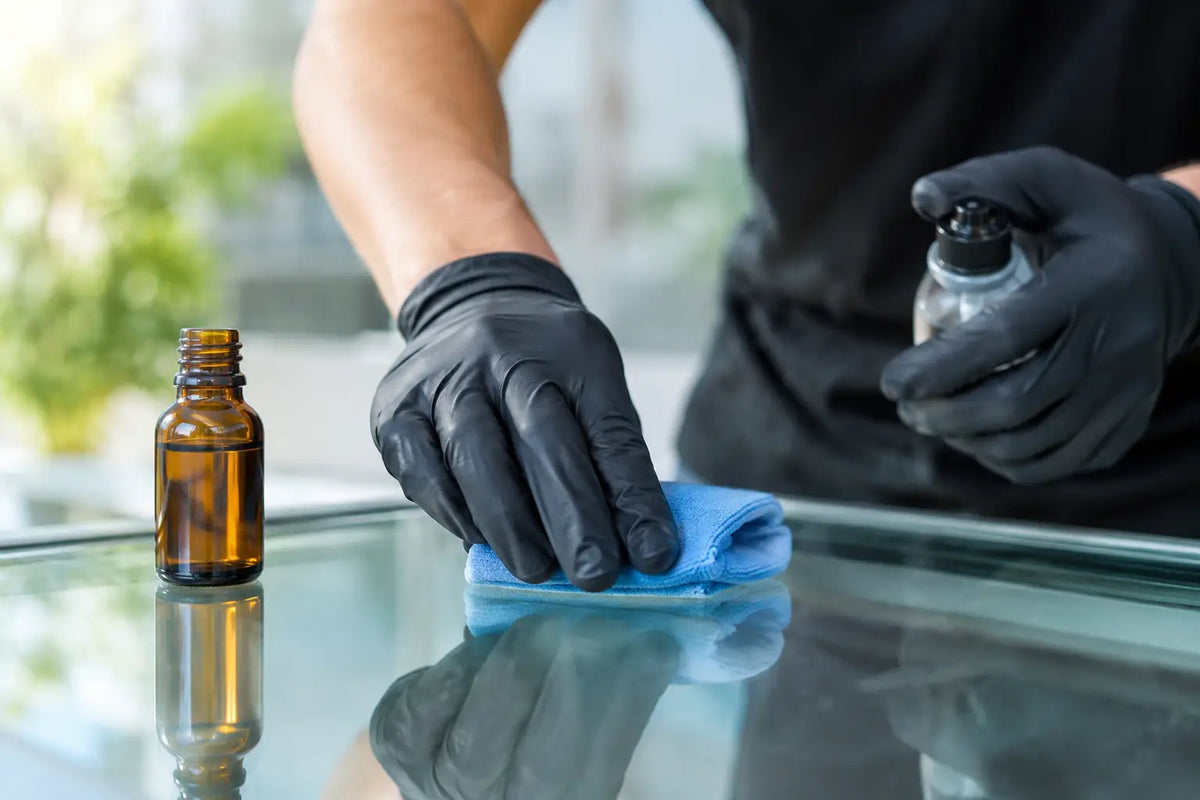
Put on gloves and follow the product's instructions for dispensing the coating onto its applicator. Work in small, manageable sections, especially on large shower panels or vehicle windshields. Apply with overlapping passes so no area is missed.
More product is not better. A coating should form an ultra-thin, even layer, not a wet, heavy film. Overapplication can create streaks, haze, or high spots that take longer to level. On vertical glass, work from top to bottom so drips do not run across already treated sections.
Use a methodical pattern. For example, apply horizontally across one section, then make a light vertical pass if the instructions call for it. Consistency matters more than speed. Be especially careful along edges and around handles, where missed strips are common.
4. Allow the correct contact time
Some glass coatings are wiped on and buffed after a brief dwell period. Others require a specific amount of time to react with the surface before excess product is removed. Follow the instructions for your exact coating rather than relying on a general rule.
Do not let a product dry beyond its stated window just because the surface looks finished. A coating that dries too long may become difficult to level, while wiping too soon can reduce coverage. Proper timing supports a clear, uniform finish and reliable water repellency.
5. Level or buff as directed
Use a fresh, dry microfiber or lint-free towel to remove excess coating if the system requires it. Fold the towel into clean sides and turn it frequently. This prevents you from spreading collected product back over the glass.
Check the glass from the side as you work. Any cloudy patch, rainbow-like residue, or missed area should be addressed before the coating fully cures. If you are treating a windshield, inspect from the driver's seat after leveling. Optical clarity matters as much as water beading.
6. Let the coating cure without interruption
Curing is not optional. The coating needs time to complete its bond with the glass. Keep the treated surface dry and avoid cleaning it during the cure period stated on the label. For shower doors, that usually means postponing the next shower. For exterior glass and windshields, plan around rain, sprinklers, and car washes.
A fully cured coating is designed to make maintenance easier, not eliminate it altogether. The hydrophobic barrier helps water release more readily and makes deposits less likely to adhere, but standing water can still leave minerals behind as it evaporates.
Common Application Mistakes That Reduce Performance
The most common mistake is applying coating to glass that is visually clean but not fully decontaminated. Hard-water minerals can be nearly invisible when wet, then become obvious after the coating cures. The fix is simple but requires patience: remove buildup completely before treatment.
Another mistake is using too much product. Heavy application does not create a stronger barrier. It often creates haze and wastes coating. Thin, even coverage is the standard to aim for.
Skipping cure time is equally costly. A freshly treated shower door should not be tested immediately with water, and a windshield should not be sent through a car wash the same afternoon unless the product directions explicitly allow it. Give the chemistry time to work.
Finally, do not assume every glass surface needs the same process. Factory-coated glass, tinted vehicle windows, antique mirrors, laminated glass, and solar panels may have manufacturer-specific care requirements. Test a small, inconspicuous section when appropriate, and use a coating intended for that surface.
Maintain Coated Glass With Less Scrubbing
Once the coating has cured, simple habits protect its performance. After shower use, a quick squeegee or microfiber wipe removes the water that would otherwise dry into mineral spots. This takes seconds and is far easier than weekly scrubbing.
Use non-abrasive maintenance products that are compatible with protective coatings. Avoid harsh scouring pads and aggressive cleaners that can gradually wear down the hydrophobic effect. When water no longer beads or releases as easily, the surface may need a deep clean and reapplication, particularly in homes with very hard water.
ShopDFI treatment systems are designed around this practical sequence: restore the surface first, apply a coating that chemically bonds, then maintain it with minimal effort. The result is not a temporary shine. It is a more manageable surface that stays cleaner-looking between cleanings.
Treat the application as a small surface-care project rather than another chore. A careful hour spent preparing and coating glass can replace months of fighting the same water spots, soap scum, and cloudy buildup.

Leave a comment
This site is protected by hCaptcha and the hCaptcha Privacy Policy and Terms of Service apply.